Bulk Deploy with ApexVCS
Deploy to Salesforce organization with ApexVCS
Content:
- Introduction to ApexVCS
- Version Control Tool Window
- Changelists
- Switch Active VCS
- ApexVCS: Accept Local State as Server State
Introduction to ApexVCS
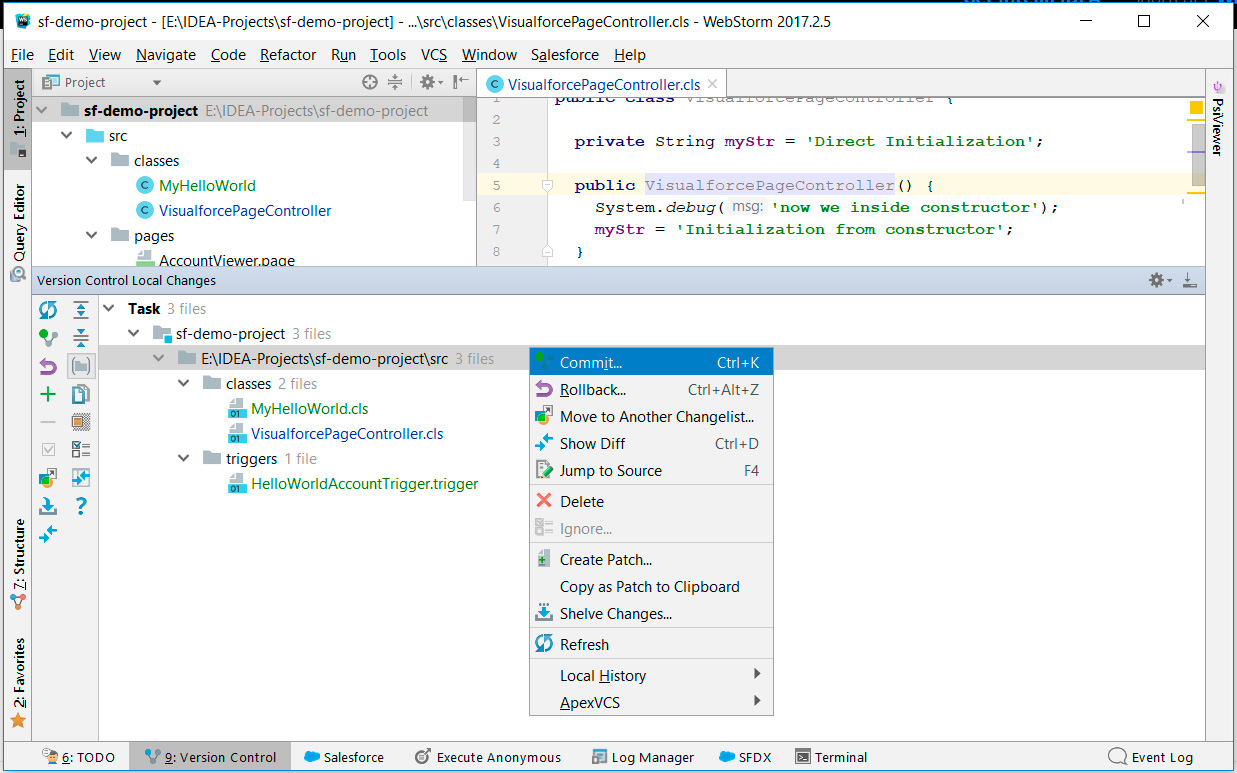
In addition to the Deploy Selection action,JetForcer provides one more method to deploy changed files to server - ApexVCS. This approach is commonly used for deploying multiple files at once and exploring changes in source code. Using ApexVCS is a best practice for deploying deleted or renamed files to your org. In brief, for deploying changed files all that you need to do is to call Commit Changes action from the Version Control tool window or from the main toolbar by using VCS -> Commit....
IntelliJ IDEA (or any other IDE) provides integration with several Version Control Systems (referred to as VCS in documentation). Git and SVN are well-known version control systems. In general, when you use Git you have a local repository and linked remote repository. The main aim of the IDE is to show you the difference between their states (e.g what files have been deleted on the server, but still exist in the local copy or what files have been added locally, but don't yet deployed to the server etc.) Sounds similar, isn't it? Just think about Salesforce org as a remote repository and consider your project sources as a local repository.
IDE provides tools for viewing differences between local sources and server, deploying changes to server or retrieving changes (a.k.a updating sources), merging conflicts between local and server states etc.
Version Control Tool Window
The Version Control tool window contains several useful tabs:
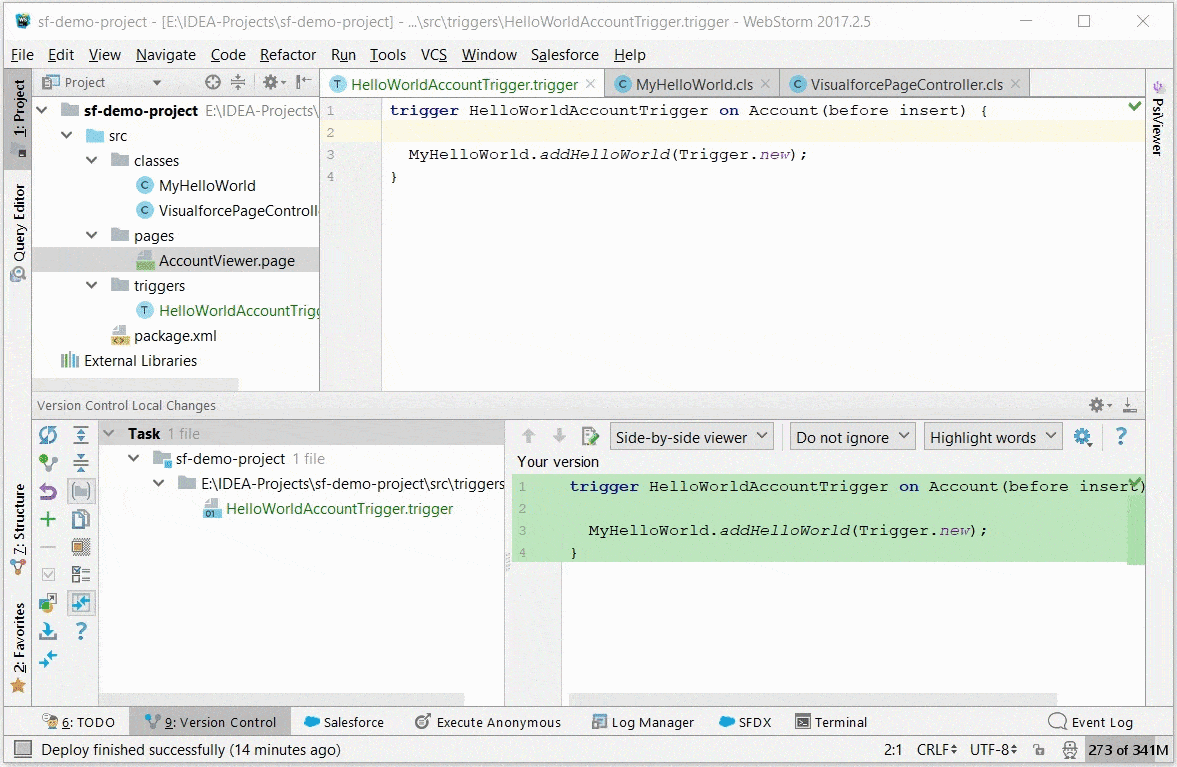
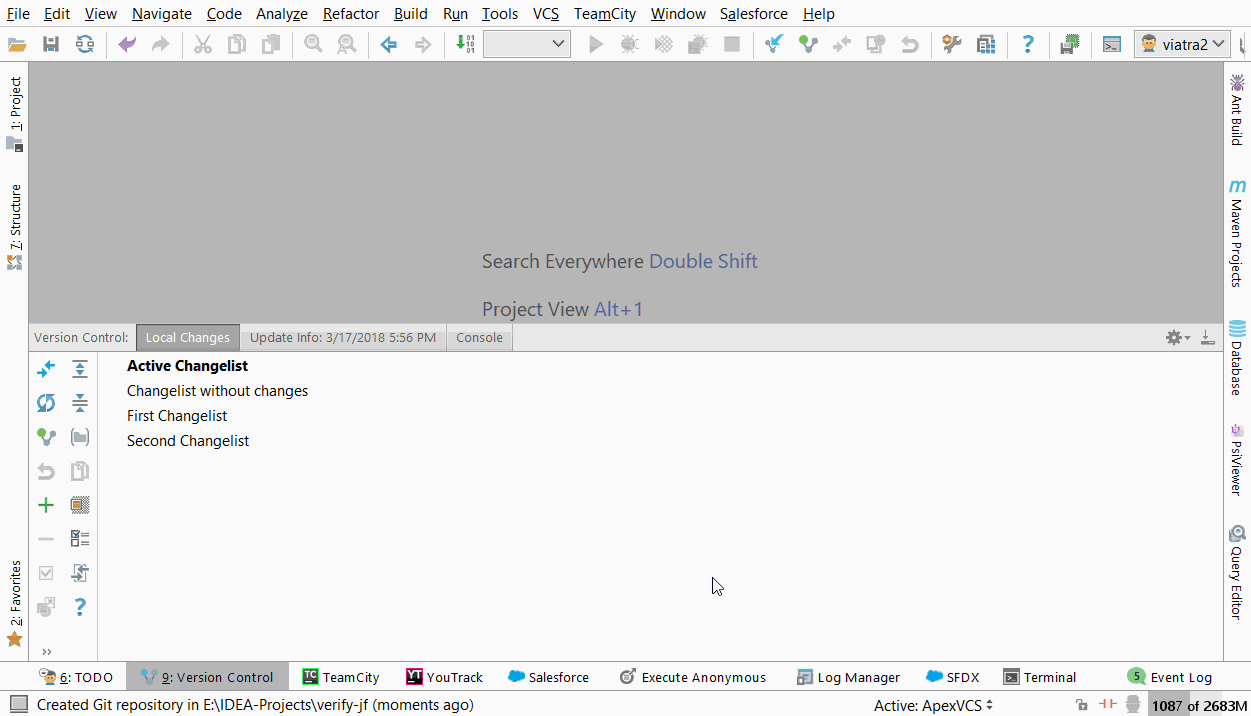
- Local Changes tab - lists all files that have been modified locally and have not yet been deployed to the Salesforce org. Use this tab to explore changed files, revert or deploy (Commit...) changes, manage changelists and view differences.
- Update Info tab - shows result of update/sync from the Salesforce org with Show Diff and Group Files by Folder actions.If all the files are up-to-date, a corresponding notification is shown.
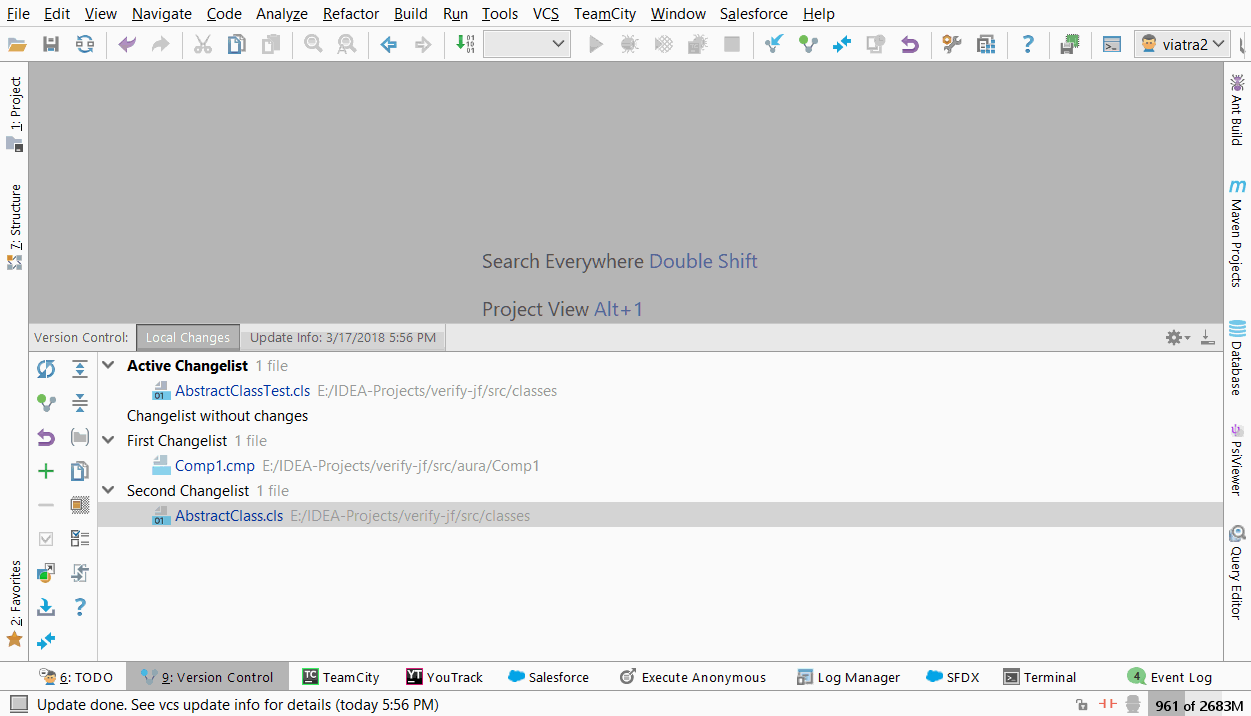
Changelists
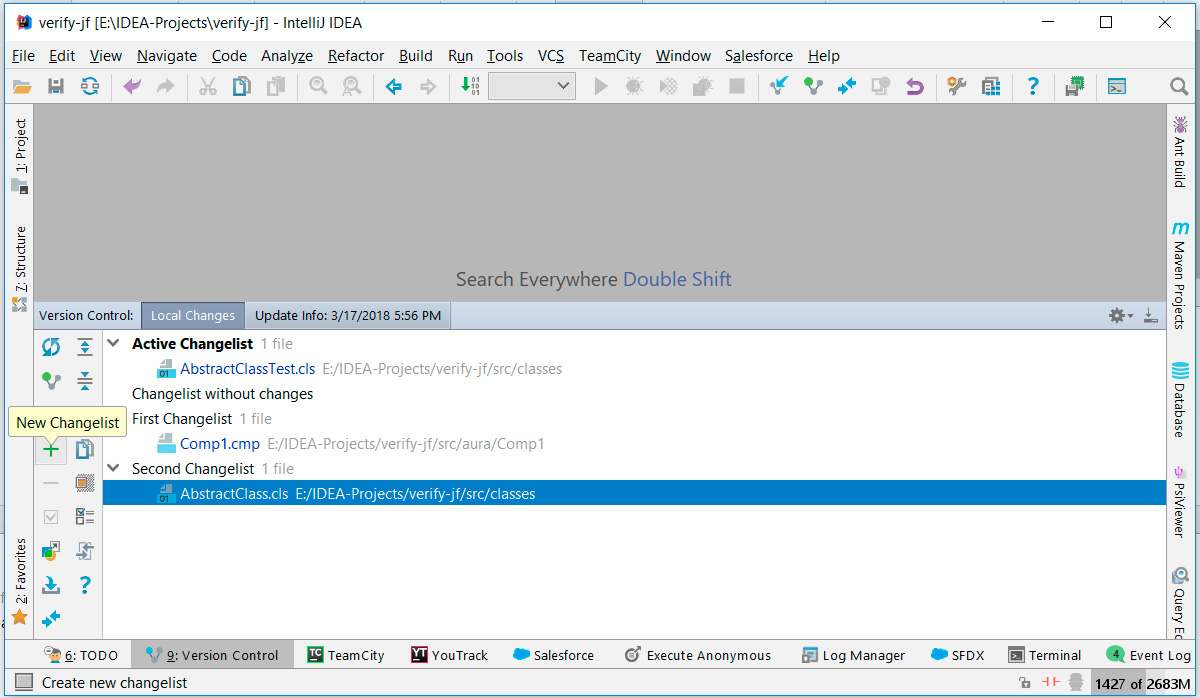
Any source code modification that isn't committed (deployed) represents a change that is tracked by ApexVCS. All the changes are stored in Changelists, which are a handy way to manage your changes: to group them, to keep an eye on certain ones, etc. Changelists are shown in the Local Changes tab in the Version Control window.
Changelists can be created, deleted, edited, also, changes can be moved between changelists. By default, any new change is added to the active changelist, which is the one displayed on top of the Local Changes tab. Any changelist can be set active in any time.
As it was said above, change is created for any source code modification, which means for any created, modified, deleted or renamed (moved) file.
These are all the actions to manage your changes:
- Commit (deploy) changes or the whole changelist.
- Jump to the source code from a change.
- Rollback changes.
- Show differences for selected change.
- Refresh changelists.
- Create, remove, edit changelists.
- Set active changelist.
- Move files between changelists.
- Switch active VCS (this action is specific for JetForcer projects that are under two VCS-s, e.g ApexVCS and Git).
Switch Active VCS
In most cases user needs to use two VCS-s:
- ApexVCS - for deploying changed files to the Salesforce instance.
- Git (or other VCS) - to maintain teamwork on the project.
You can work with two VCS-s combined, but only one VCS can be active at a time. Active VCS is responsible to showing changes and can be switched at any time in several ways:
- In the main toolbar: VCS | Switch from ApexVCS to Git.
- In the status bar: Click on Active VCS widget.
- In the context menu of the editor.
- In the action toolbar of the Version Control tool window.
ApexVCS: Accept Local State as Server State
ApexVcs indexes the project to track the state of the each source file. We always make sure that all the indexing works correctly, but bad things happen and there is a slight possibility that one day the system cache becomes broken. This situation can be solved by cleaning out the cache.
To clean out the system caches (ApexVCS indices) do the following:
- On the main menu, choose VCS | ApexVCS | Accept Local State as Server State.
The Rewrite Repository message appears informing you that this action will reset ApexVCS repository and accept the local state as server state.
It is important to note the following:
- The files are not actually deleted.
- All the changes in Changelists in the Version Control tool window will be cleared.