Create Project
Create New Salesforce Project in JetForcer
Content:
Creating a project
To create a new Salesforce project from organization, follow these steps:
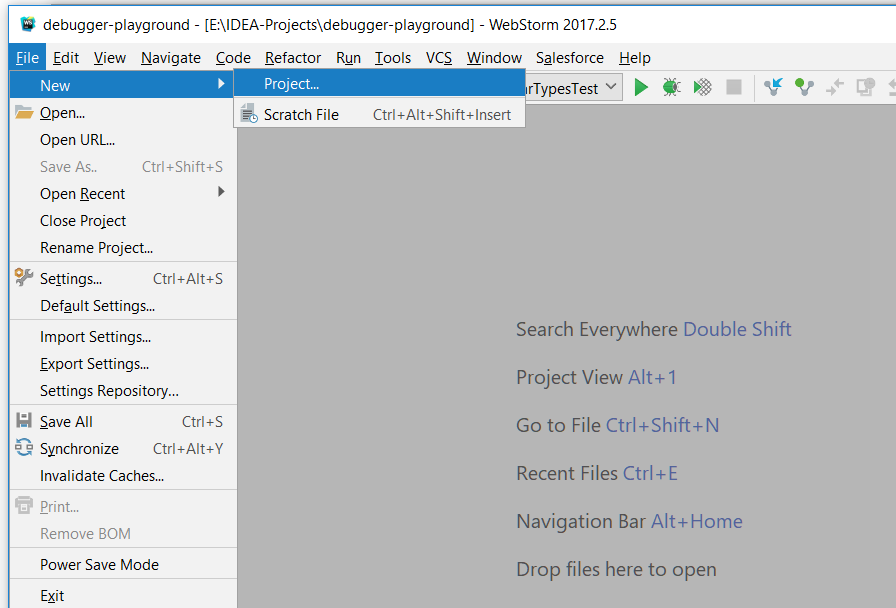
1. Do one of the following:
- On the Welcome screen, click the link Create New Project.
- On the main menu, choose File | New Project.
2. The
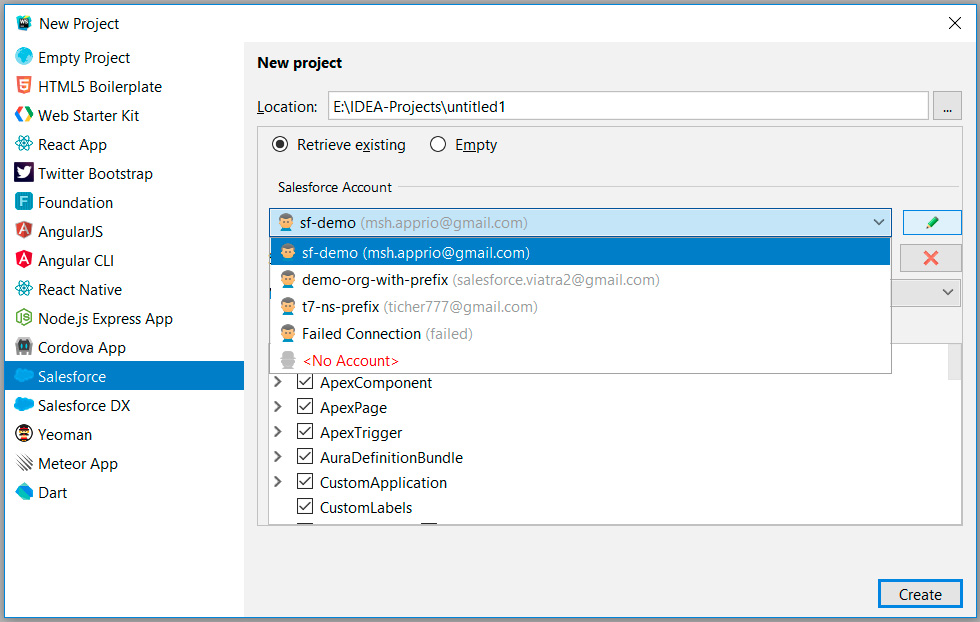
New Project dialog opens.
3. In the left pane, choose Salesforce or Salesforce DX.
4. In the right pane:
- Specify the path to the folder where the project-related files will be stored.
- In the Salesforce Account combo-box, select existing account or create a new one.
 In the Managed combo-box, select:
- All - for download all managed packages.
- None - if you don't want to download packages
- Choose... - customize a list of packages you want to download
NOTE: All references to metadata from a package that was not loaded will be highlighted with
Cannot resolve... error and will not be suggested in
completion list popup.
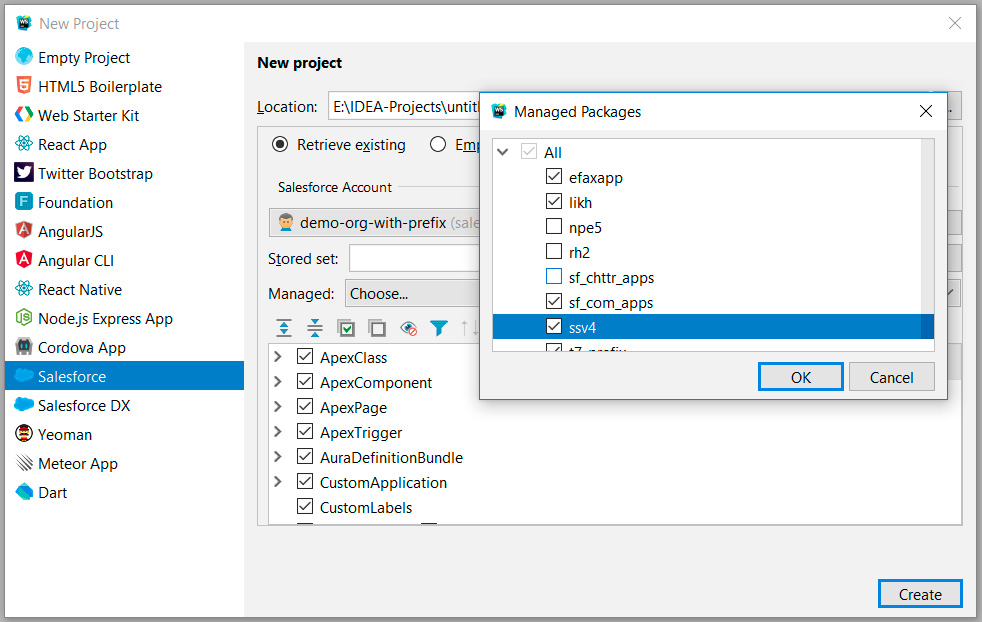
- In metadata checkbox tree, choose desired components to be downloaded.
5. Click
Create, when ready. JetForcer will download all the required data and open created project.
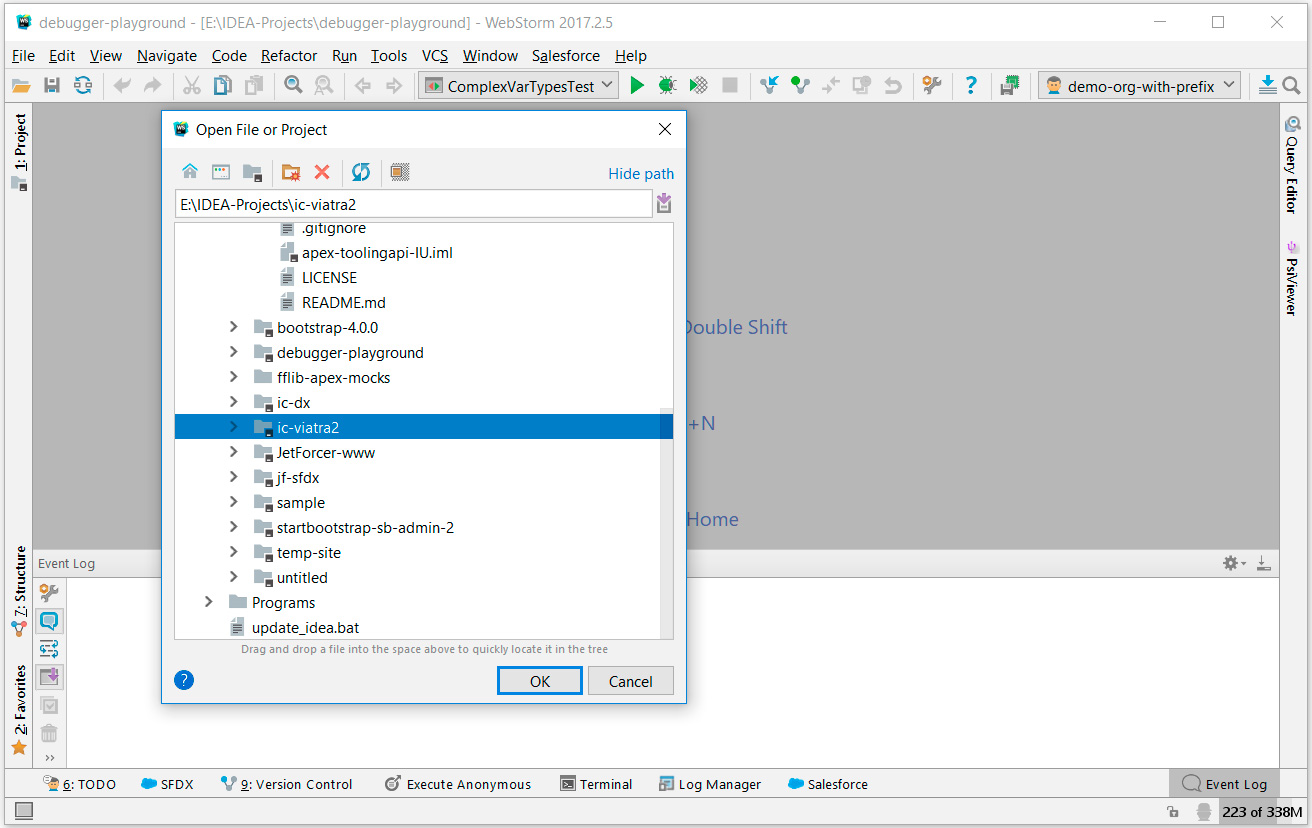
Opening an existing project
To open an existing project, do one of the following:
- On the Welcome screen, click Open.
- On the main menu, choose File | Open.
- Specify whether the project should be opened: in a new frame, or close the current project and reuse the existing frame.