Download, install and set up JetForcer
Content:
- Choose IDE to work (Introduction to JetBrains IDEs)
- Downloading the IDE
- Installing the IDE
- Installing the JetForcer plugin
Step 1: Choose IDE to work (Introduction to JetBrains IDEs)
The JetForcer plugin adds Salesforce support to JetBrains IDEs such as IntelliJ IDEA, WebStorm, PyCharm etc.
WebStorm is an IDE for client-side development (with full support for JavaScript and CSS technologies).
IntelliJ IDEA is a well-known Java IDE with support for many other languages and frameworks.
It is available in two editions: Community and Ultimate. The Community is free, but it has fewer features (don't support JavaScript and CSS).
The Ultimate edition is commercial and supports many languages (including JavaScript and CSS).
For details, see the editions comparison matrix.
WebStorm is a good choice when you need full JavaScript and CSS support for Visualforce and Lightning, feel free to use IDEA Community otherwise.
Whichever JetBrains IDE you choose for Salesforce development, this page has instructions to help you get started quickly and find more information when you need it.
Step 2: Downloading the IDE
Download a JetBrains IDE if you don’t already have one.
- Download IntelliJ IDEA (Community or Ultimate)
- Download WebStorm
- Find another JetBrains product
Step 3: Installing the IDE
JetBrains tutorials provides detailed information about how to install and launch their IDEs.
In Brief you should:
- Choose storage folder for IDE settings
- Select the user interface theme (Default or Darcula)
- Configure IDE plugins
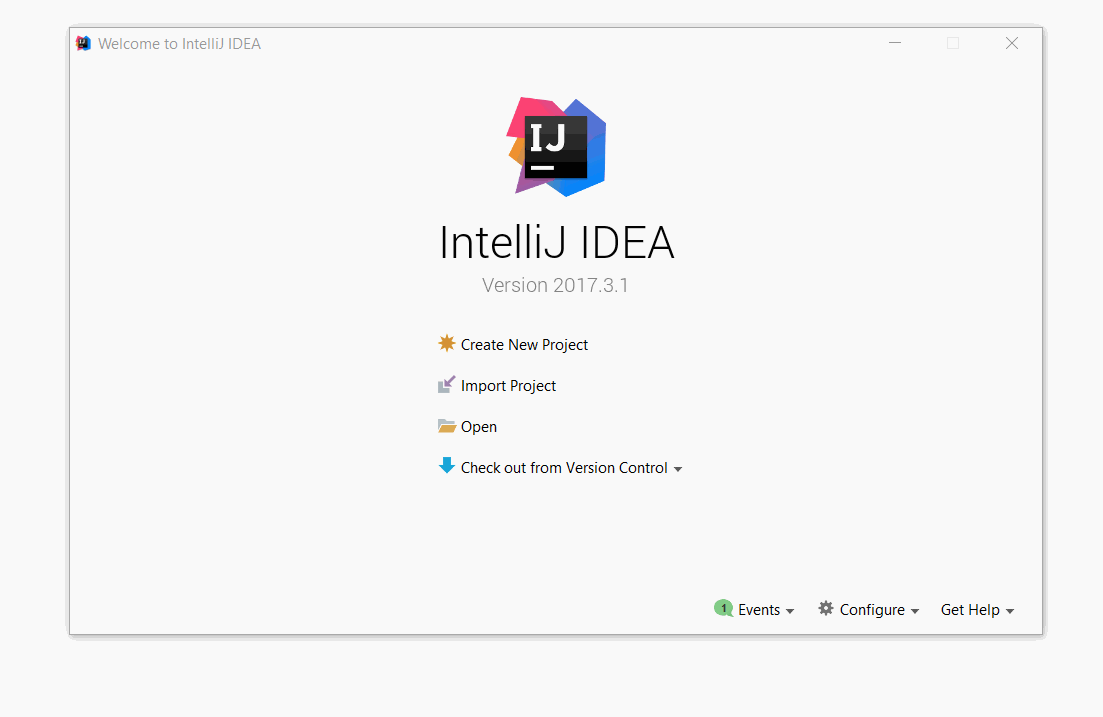
Step 4: Installing the JetForcer plugin
To be able to use JetForcer, you should download and install it from JetBrains Plugin Repository.
See Installing, Updating and Uninstalling Repository Plugins.
In brief you should:
- Start the IDE
- To find the JetForcer plugin, from the Welcome screen choose Configure > Plugins
- Press Browse Repositories... button and then search or scroll down until you find JetForcer.
- Once you've finished the installation, restart the IDE.