Learn more about how Git can help in the Salesforce development process, possible Git and Salesforce workflows, and how to work with them within IntelliJ IDEA.
Agenda
- How Git can help in Salesforce development process
- Salesforce and Git Workflow
- Checkout Salesforce project from Git
- Compare Git sources and Salesforce Org state
- Switch Between Git and ApexVCS
- Push changes to Git and Salesforce
- Conclusion
How Git can help in Salesforce development process
Git is the most used, open source and free Version Control System (VCS). It is targeted to track file changes in your project, store the history of these changes, and resolve conflicts if multiple developers trying to change the same file simultaneously.
Every change is linked to a particular developer so you always know who did what. Each change has an associated comment so you always can explore why it was made.
Git allows you to go back to any point from history and set it as the current project state, unlike the standard salesforce development process where is no way to do such things after saving code changes in Developer Console.
Moreover, Git allows you to use Git-based collaboration platforms like GitHub. It provides tools for code review, exploring the work of your teammates, and integrations with the test, build, and rollout systems.
Salesforce and Git Workflow
There are many cool posts about the best practices how to use Salesforce and Git for development process. I will not duplicate them here and just share some links. Our goal is to figure out how to interact with Salesforce and Git within JetForcer and IntelliJ IDEA.
- Version Control For Salesforce — Branching Strategy
- Salesforce and Git: Development Process
- Using Git with Salesforce and distributed teams
- Version Control and Salesforce Admins
Checkout Salesforce project from Git
IntelliJ IDEA provide two ways to create project from Git repository:
- Use Get from Version Control action on the Welcome screen.
- From the main action toolbar select VCS | Get from Version Control
After invoking the action, IDEA will show Get From Version Control dialog. Press Clone to continue.
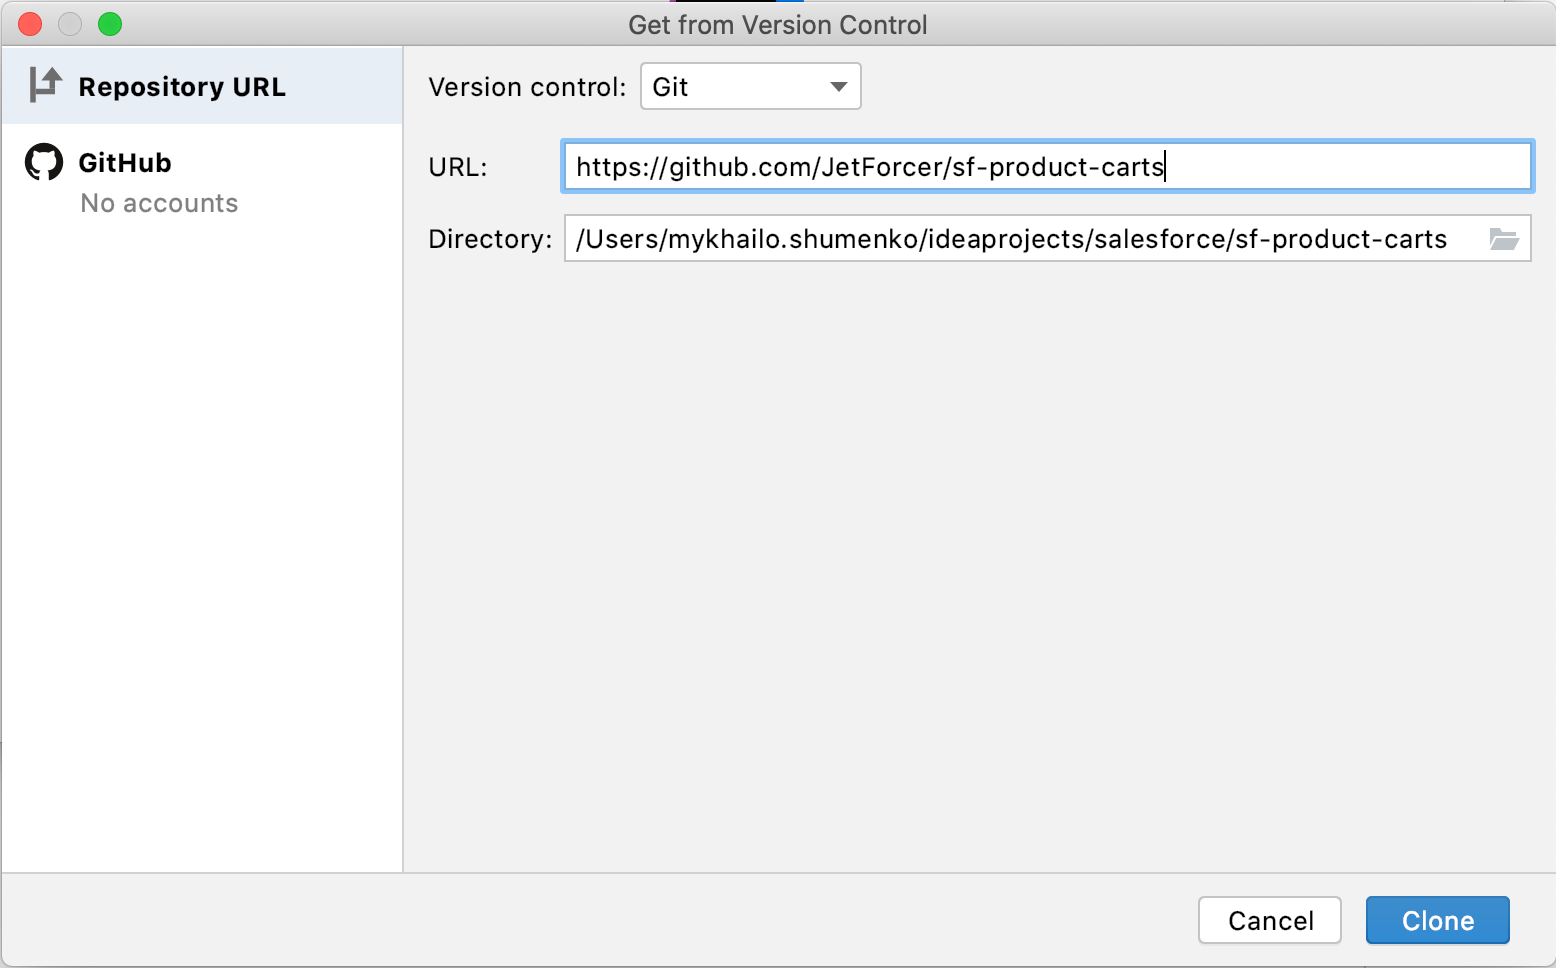 Get from Version Control dialog
When cloning is done, you will be asked to import a Salesforce project from downloaded sources. Press import in the shown popup.
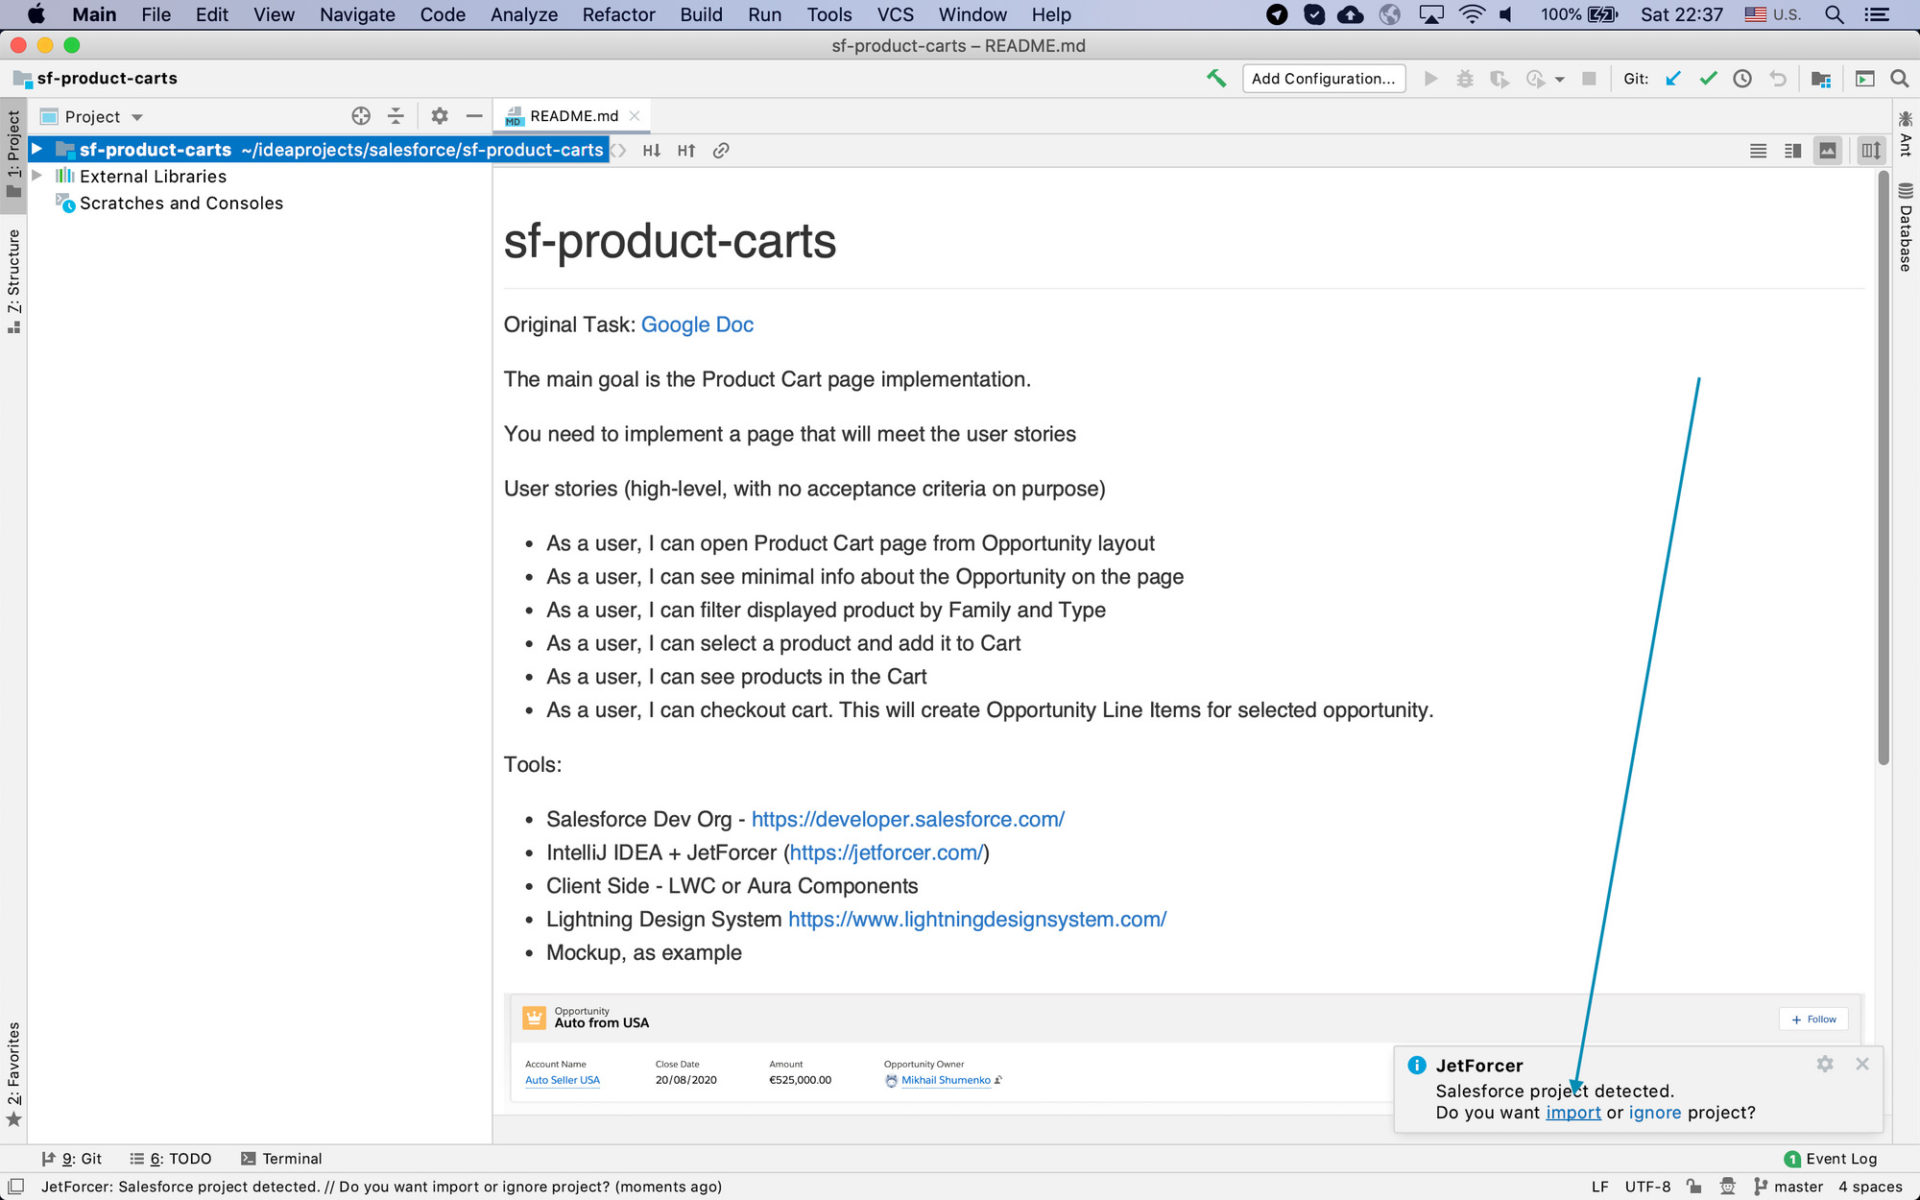 Import JetForcer project from Git
On the Account dialog select or create Salesforce account related to this Git repository and press OK. After that, IDE will configure project structure, initialize Apex VCS state and download Apex Built-In stubs.
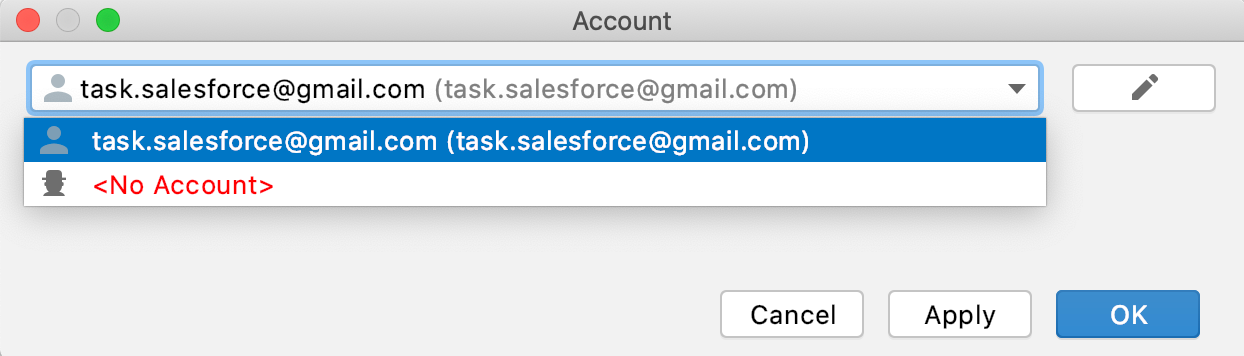
 Account dialogProject Import
Now the project is ready to work.
Compare Git sources and Salesforce Org state
JetForcer has Compare Tool which lets you compare a file from your local working copy with its version in the Salesforce organization. We can compare a particular file or even a whole project state.
If you want to compare a particular file state, just invoke the context menu right in the editor or from Project View. IDE will show you Diff dialog.
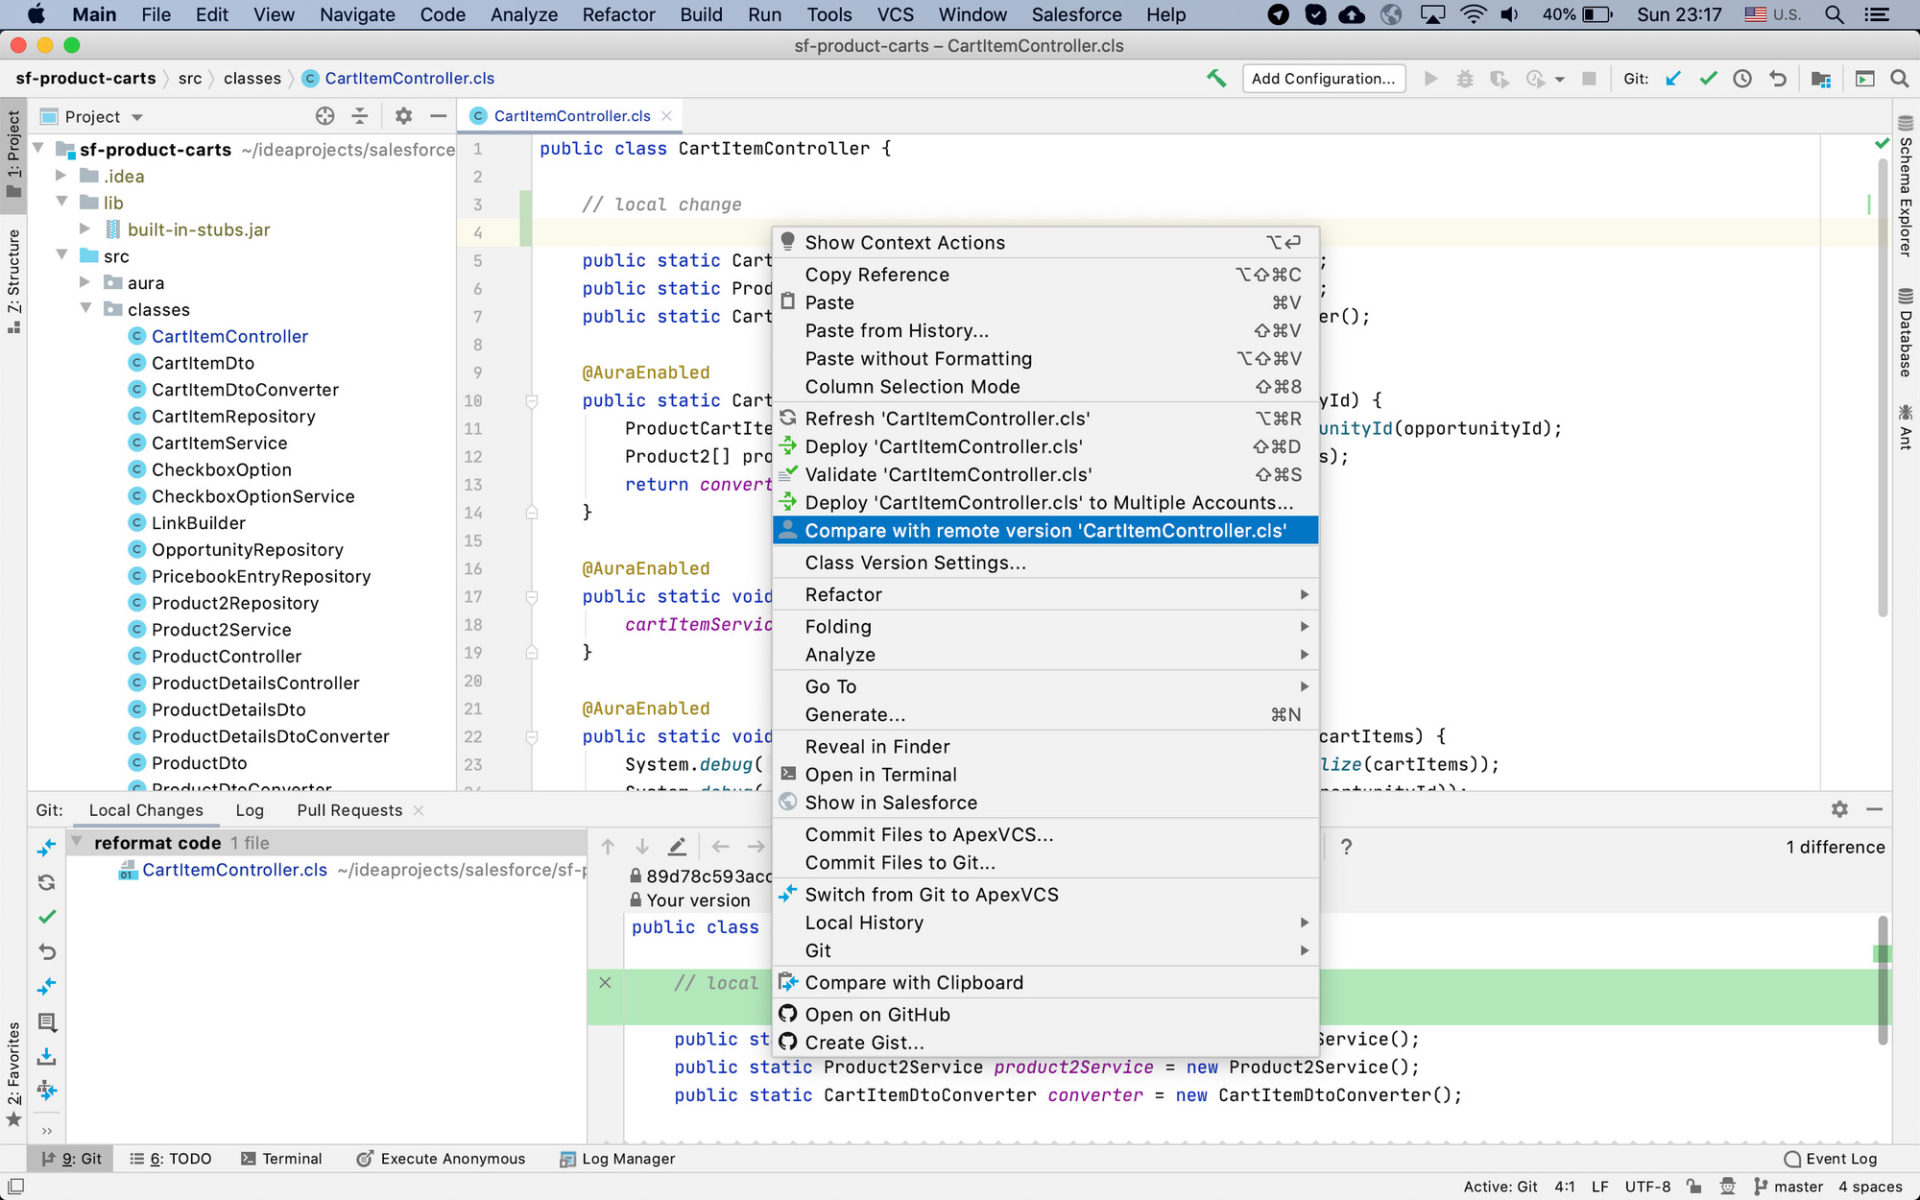 Compare with Remote action
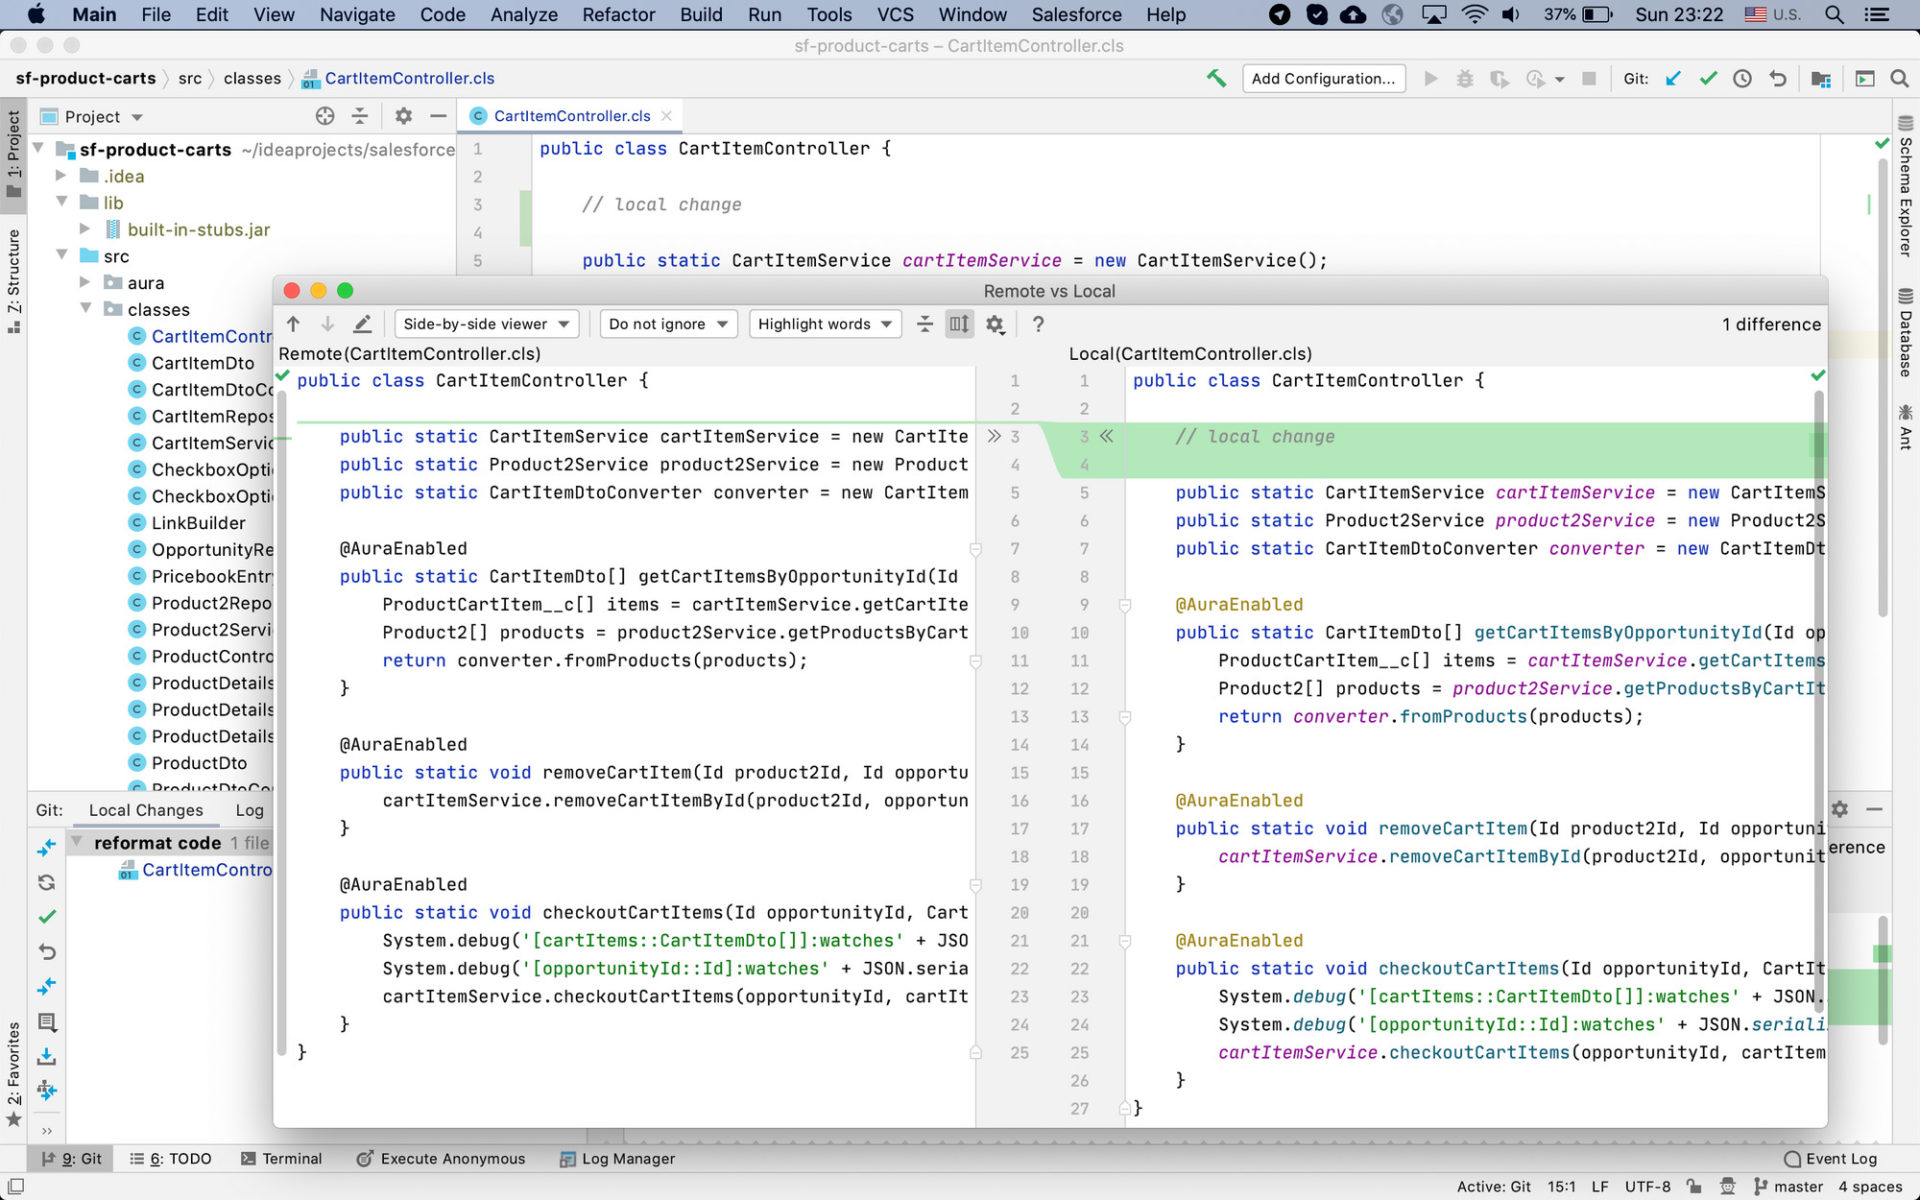 Comparison Dialog
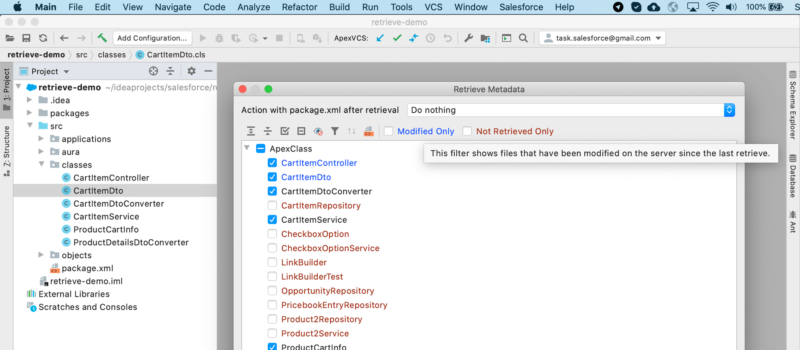
To perform bulk metadata comparison choose Salesforce -> Compare Metadata... action on the main toolbar.
IDE will show Compare dialog. In this dialog, specify Primary and Secondary accounts, choose desired metadata, and press the Compare button.
 Compare Metadata Toolbar Action
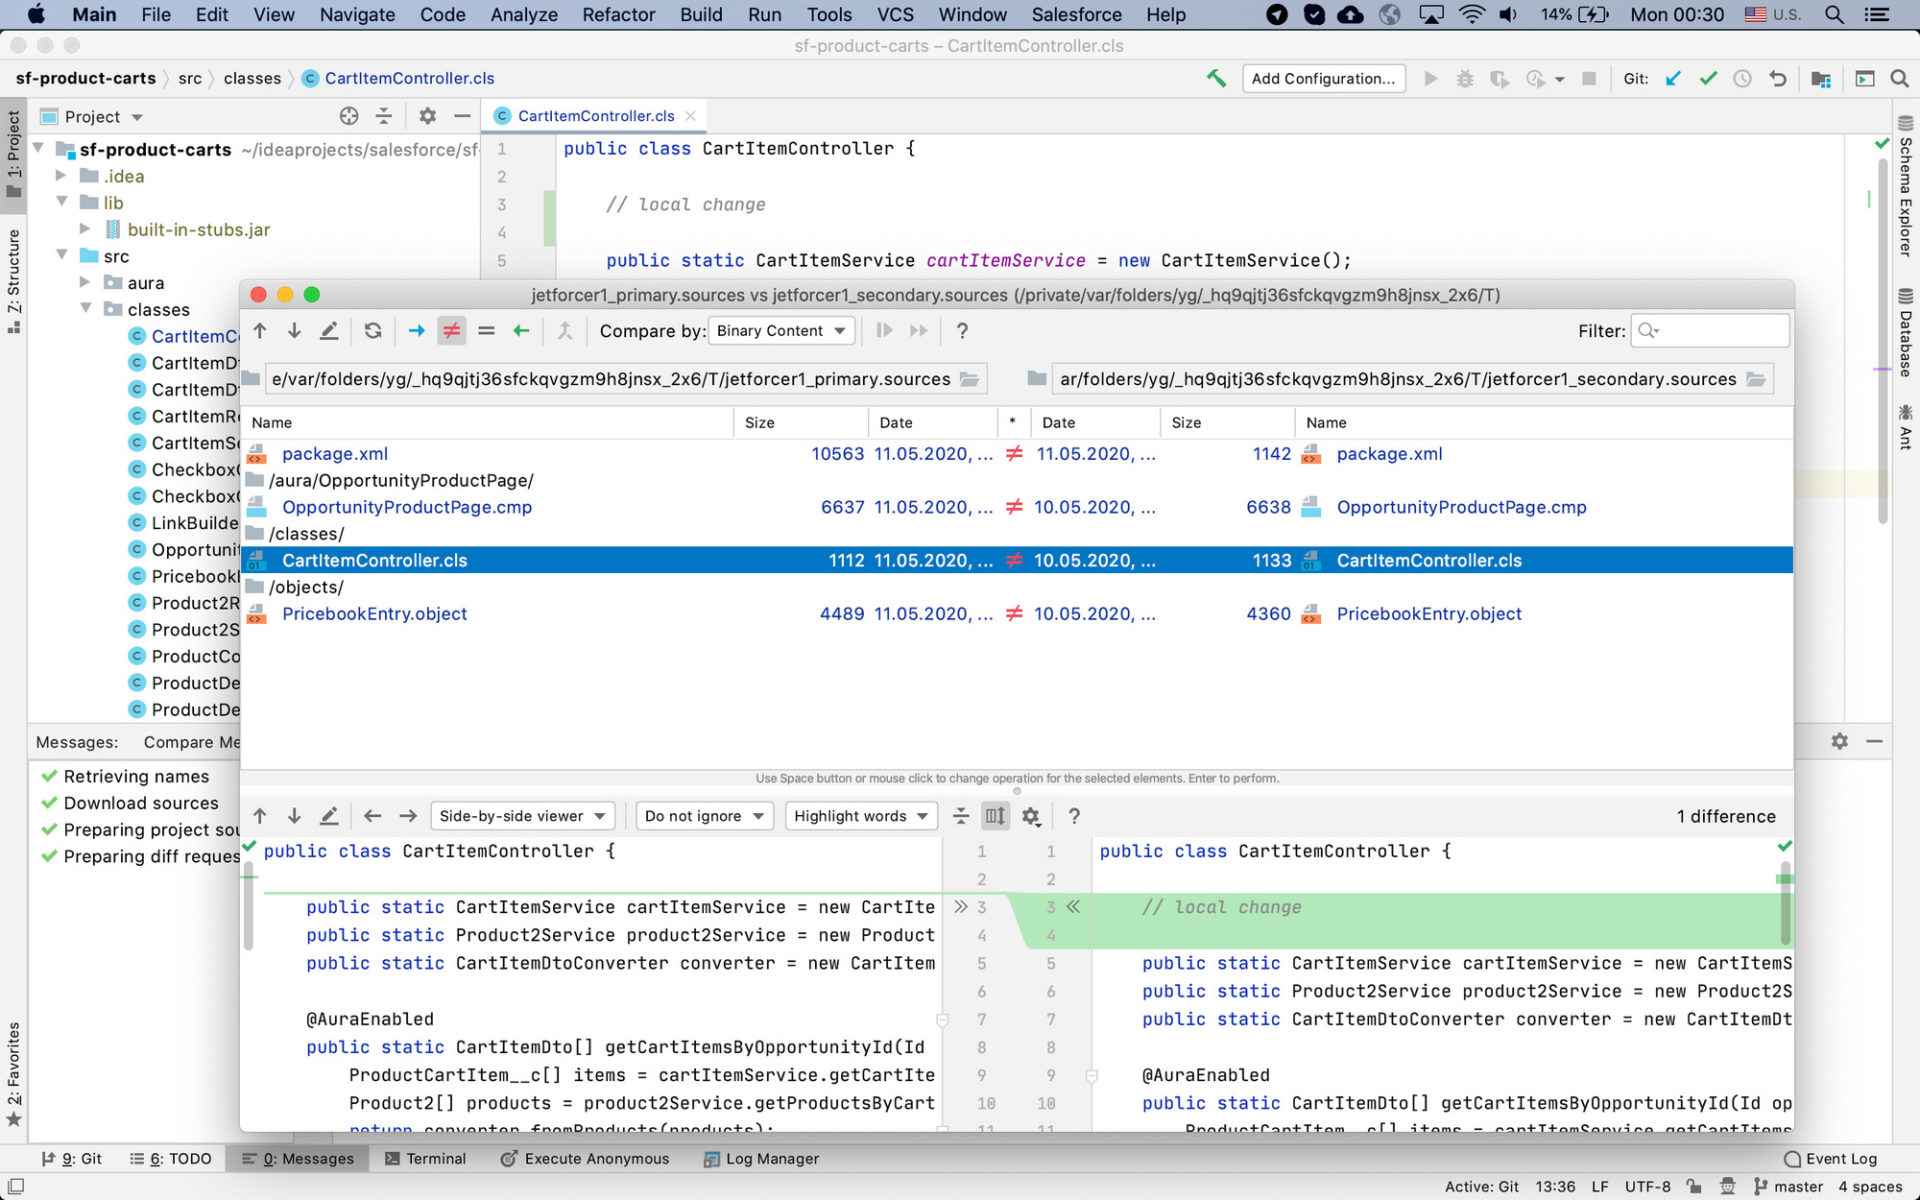 Bulk Comparison
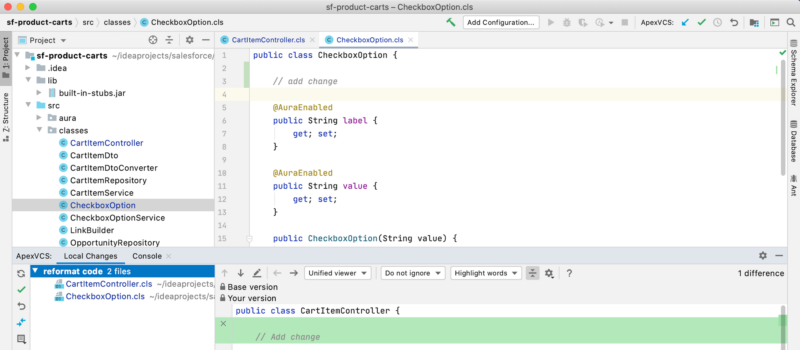
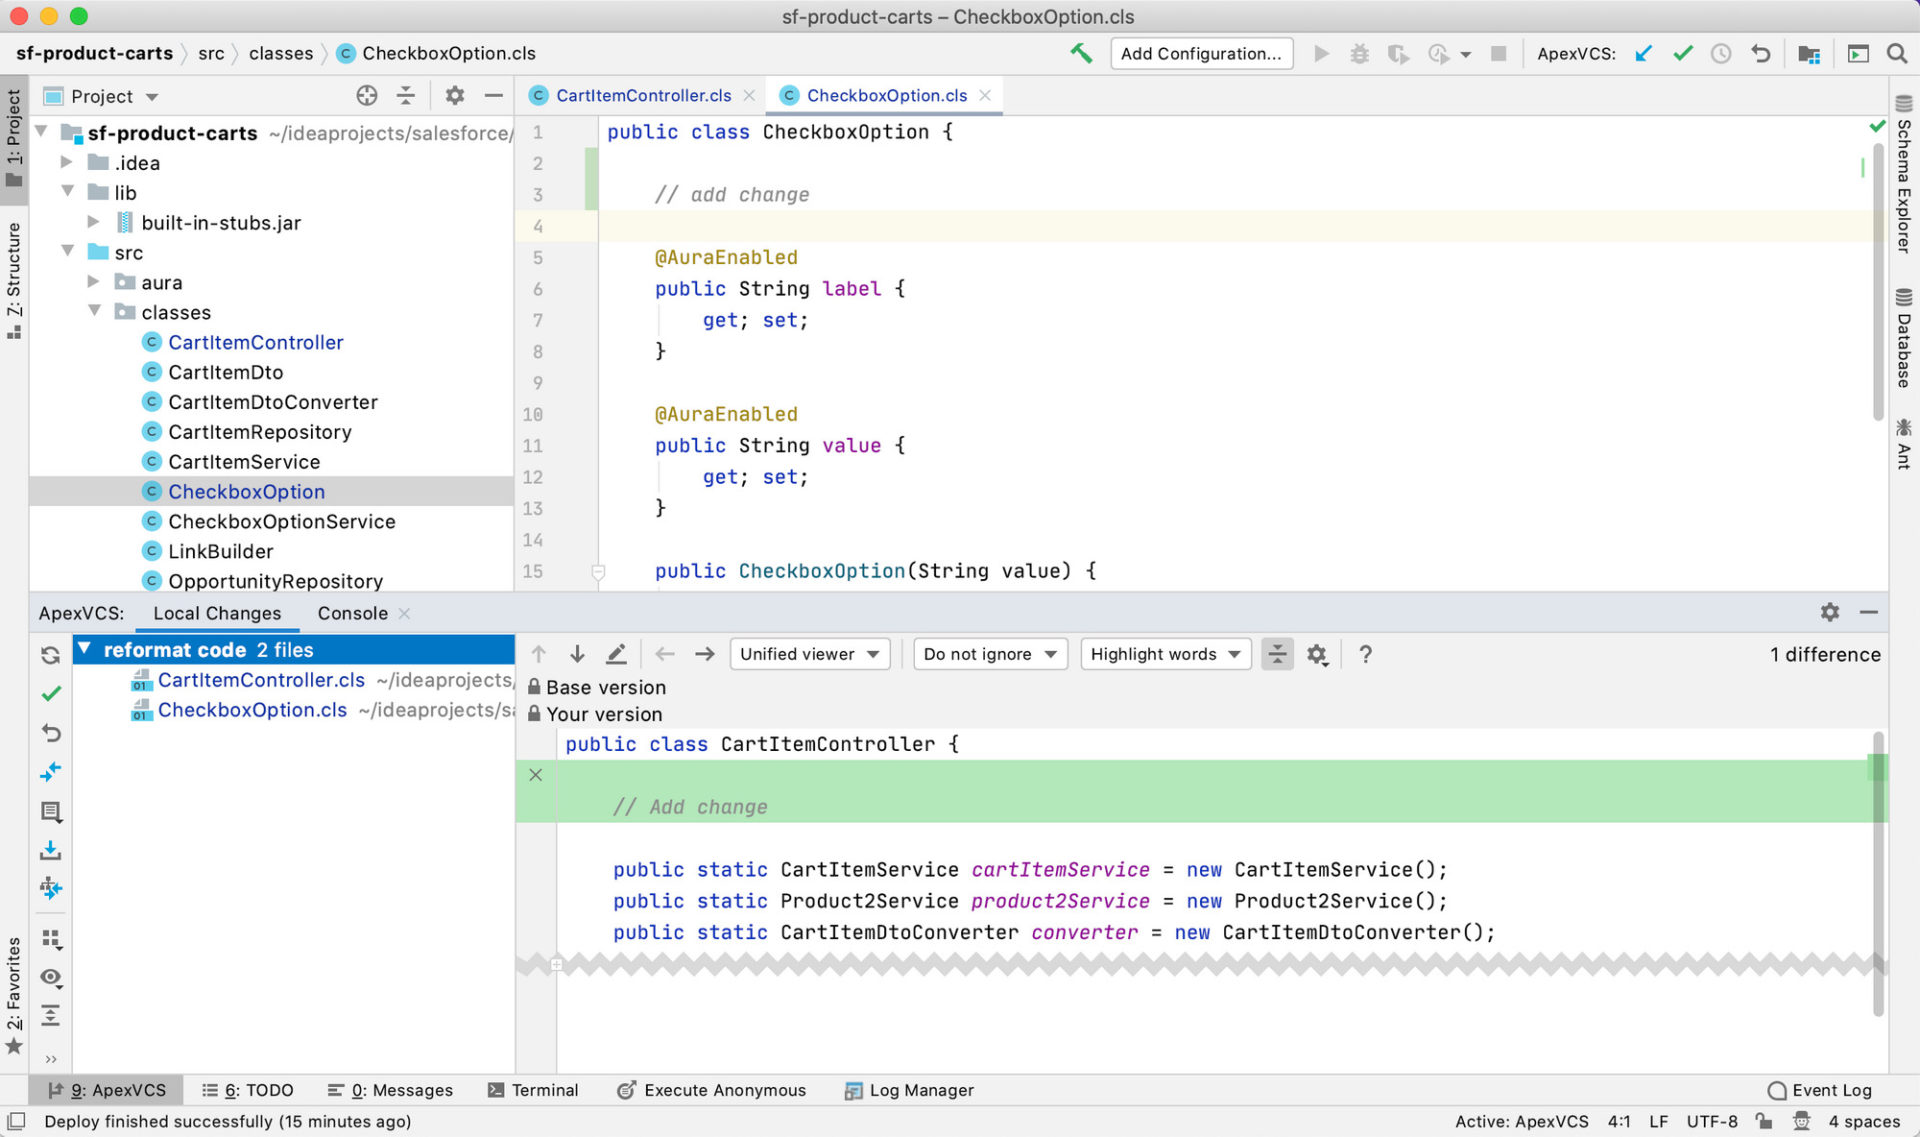
Switch Between Git and ApexVCS
IntelliJ IDEA has powerful support for several Version Control Systems (Git, Perforce, Mercurial, etc.). Briefly, this support includes several important features:
- Tracking changes to a file in the editor by gutter markers;
- Checking file status by color used to highlight the file name;
- Explore changed files with dedicated tool window;
- Merge conflicts between local and server file states;
- Ability to push all local changes to the server just in few clicks.
JetForcer reuses all these features by implementing its own VCS - ApexVCS.
In terms of ApexVCS, Salesforce Organization represents a remote repository state, and project sources is a local repository state.
Find more information in ApexVCS docs.
But IntelliJ IDEA doesn't support multiple VCS which enabled simultaneously. That's why JetForcer provides Switch VCS widget on the status bar which allows you to switch between Git and ApexVCS whenever you need it.
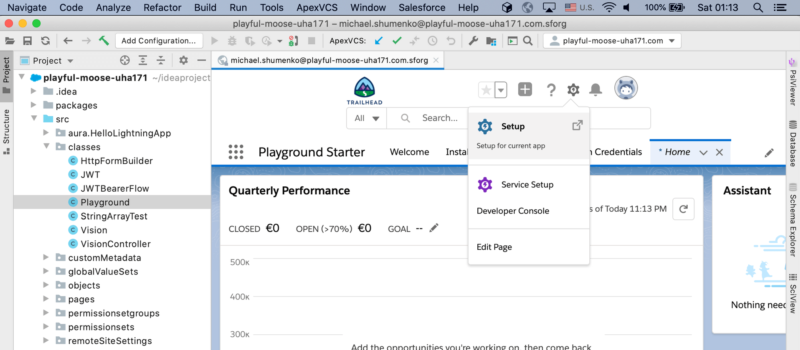
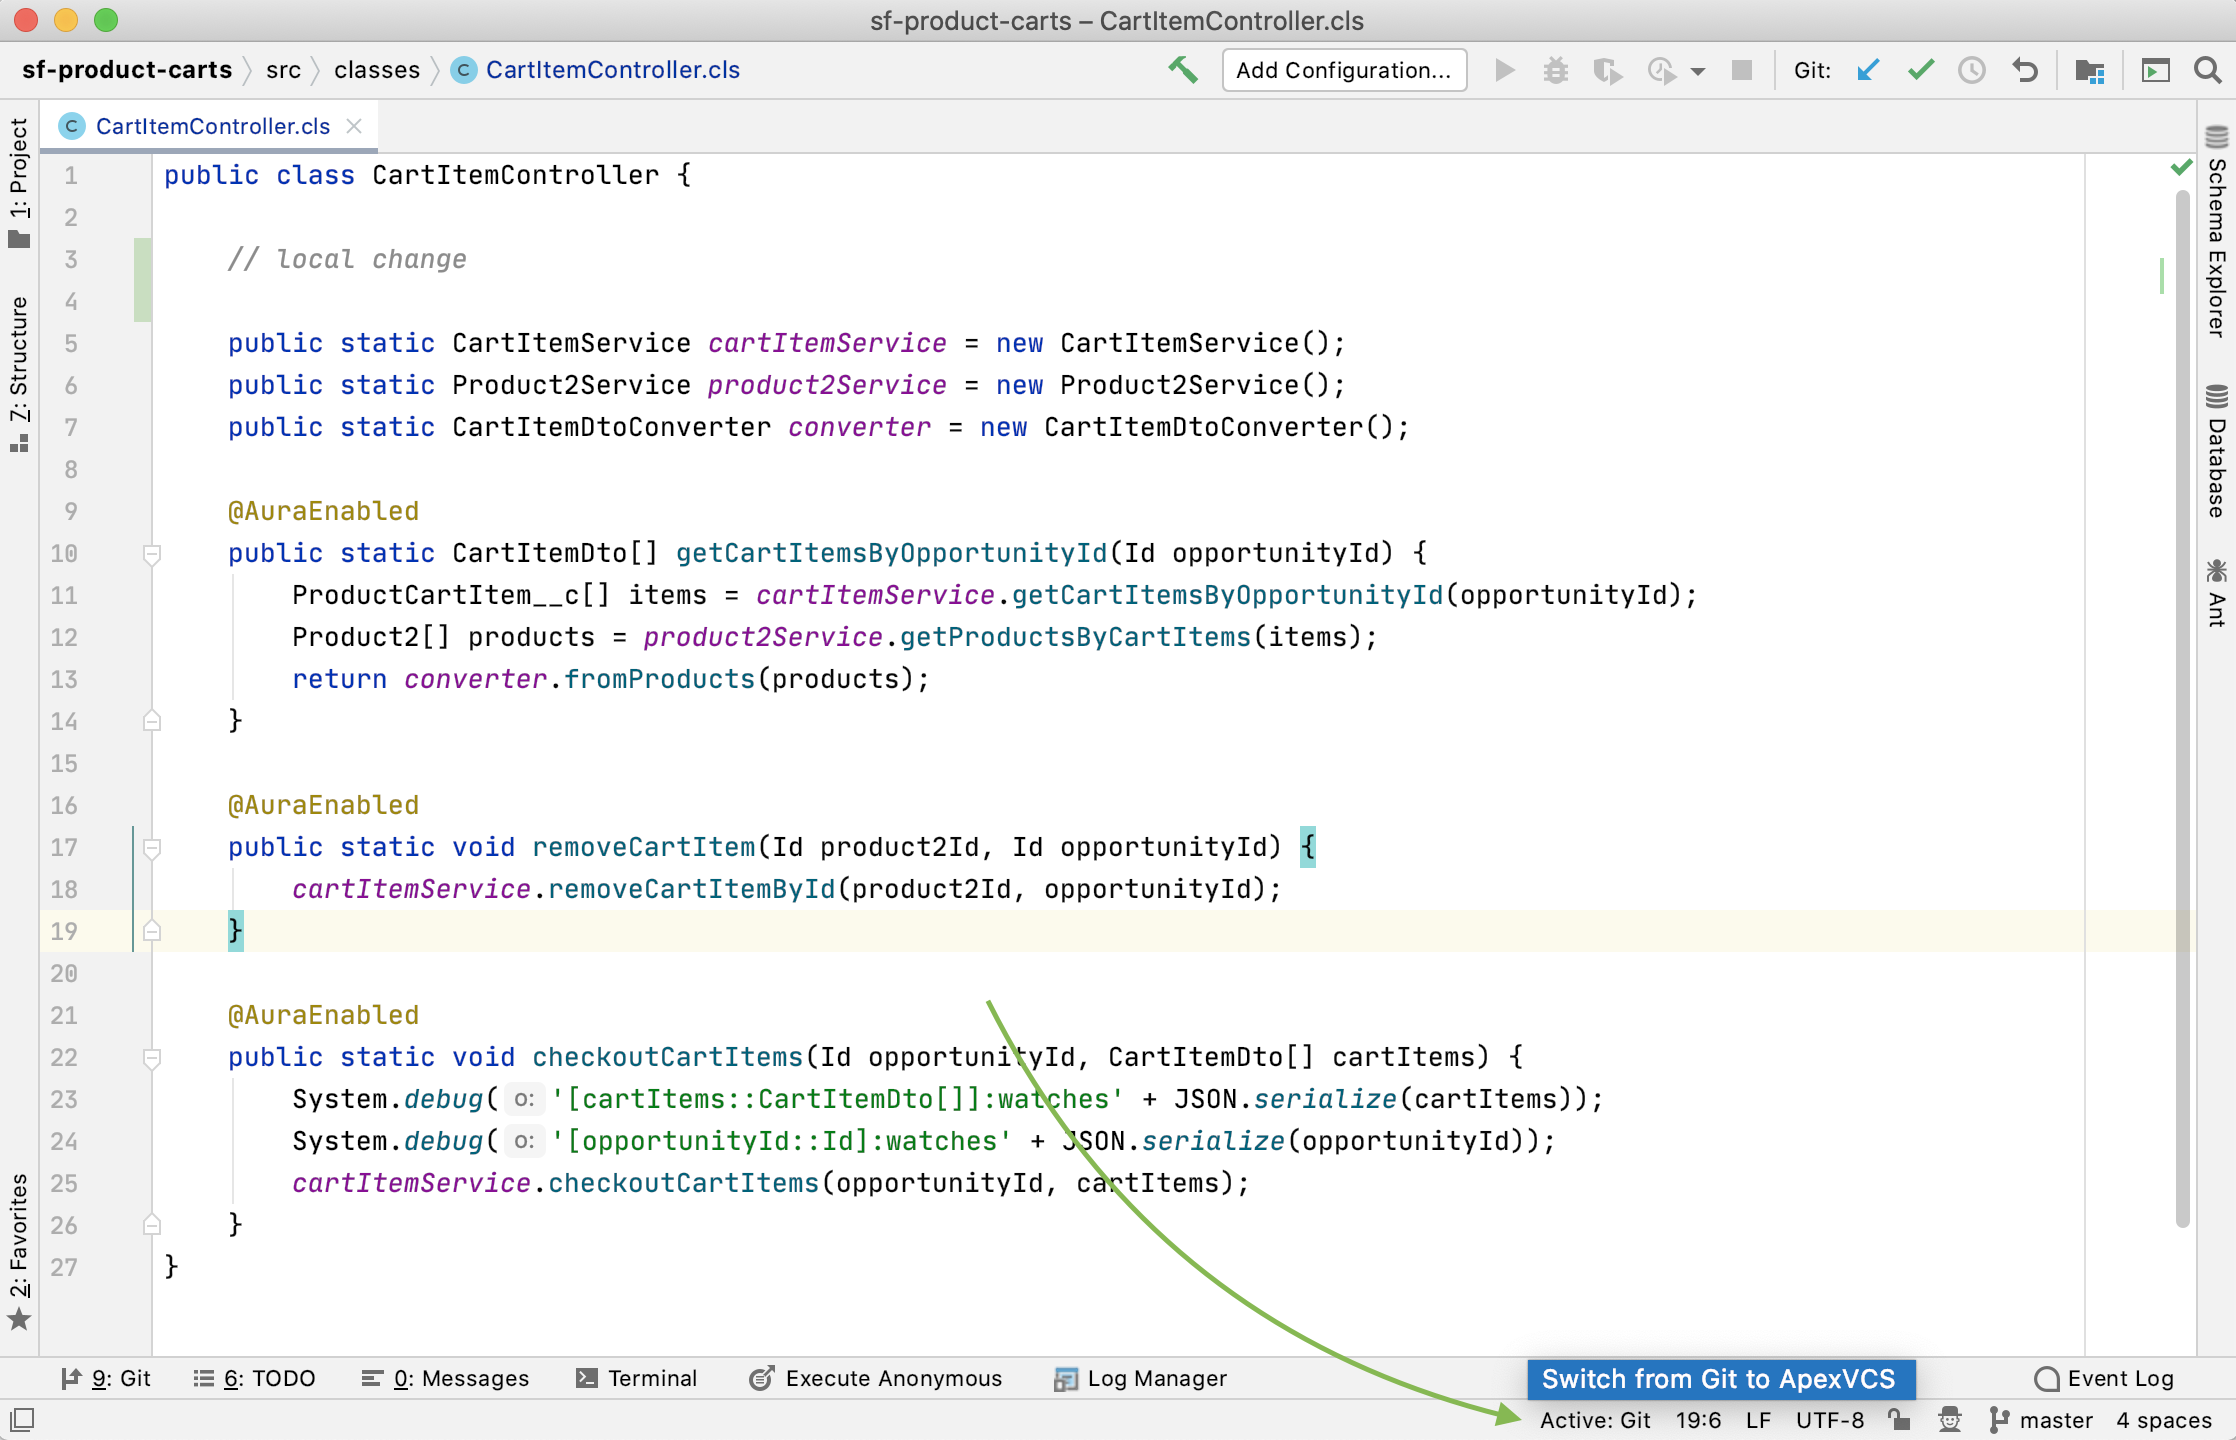 Switch VCS
Push changes to Git and Salesforce
By the way, we don't need to switch between VCS for deploying changes to the server (in terms of Git push changes to the repository), just choose one of the VCS -> Commit to ... actions on the main toolbar.
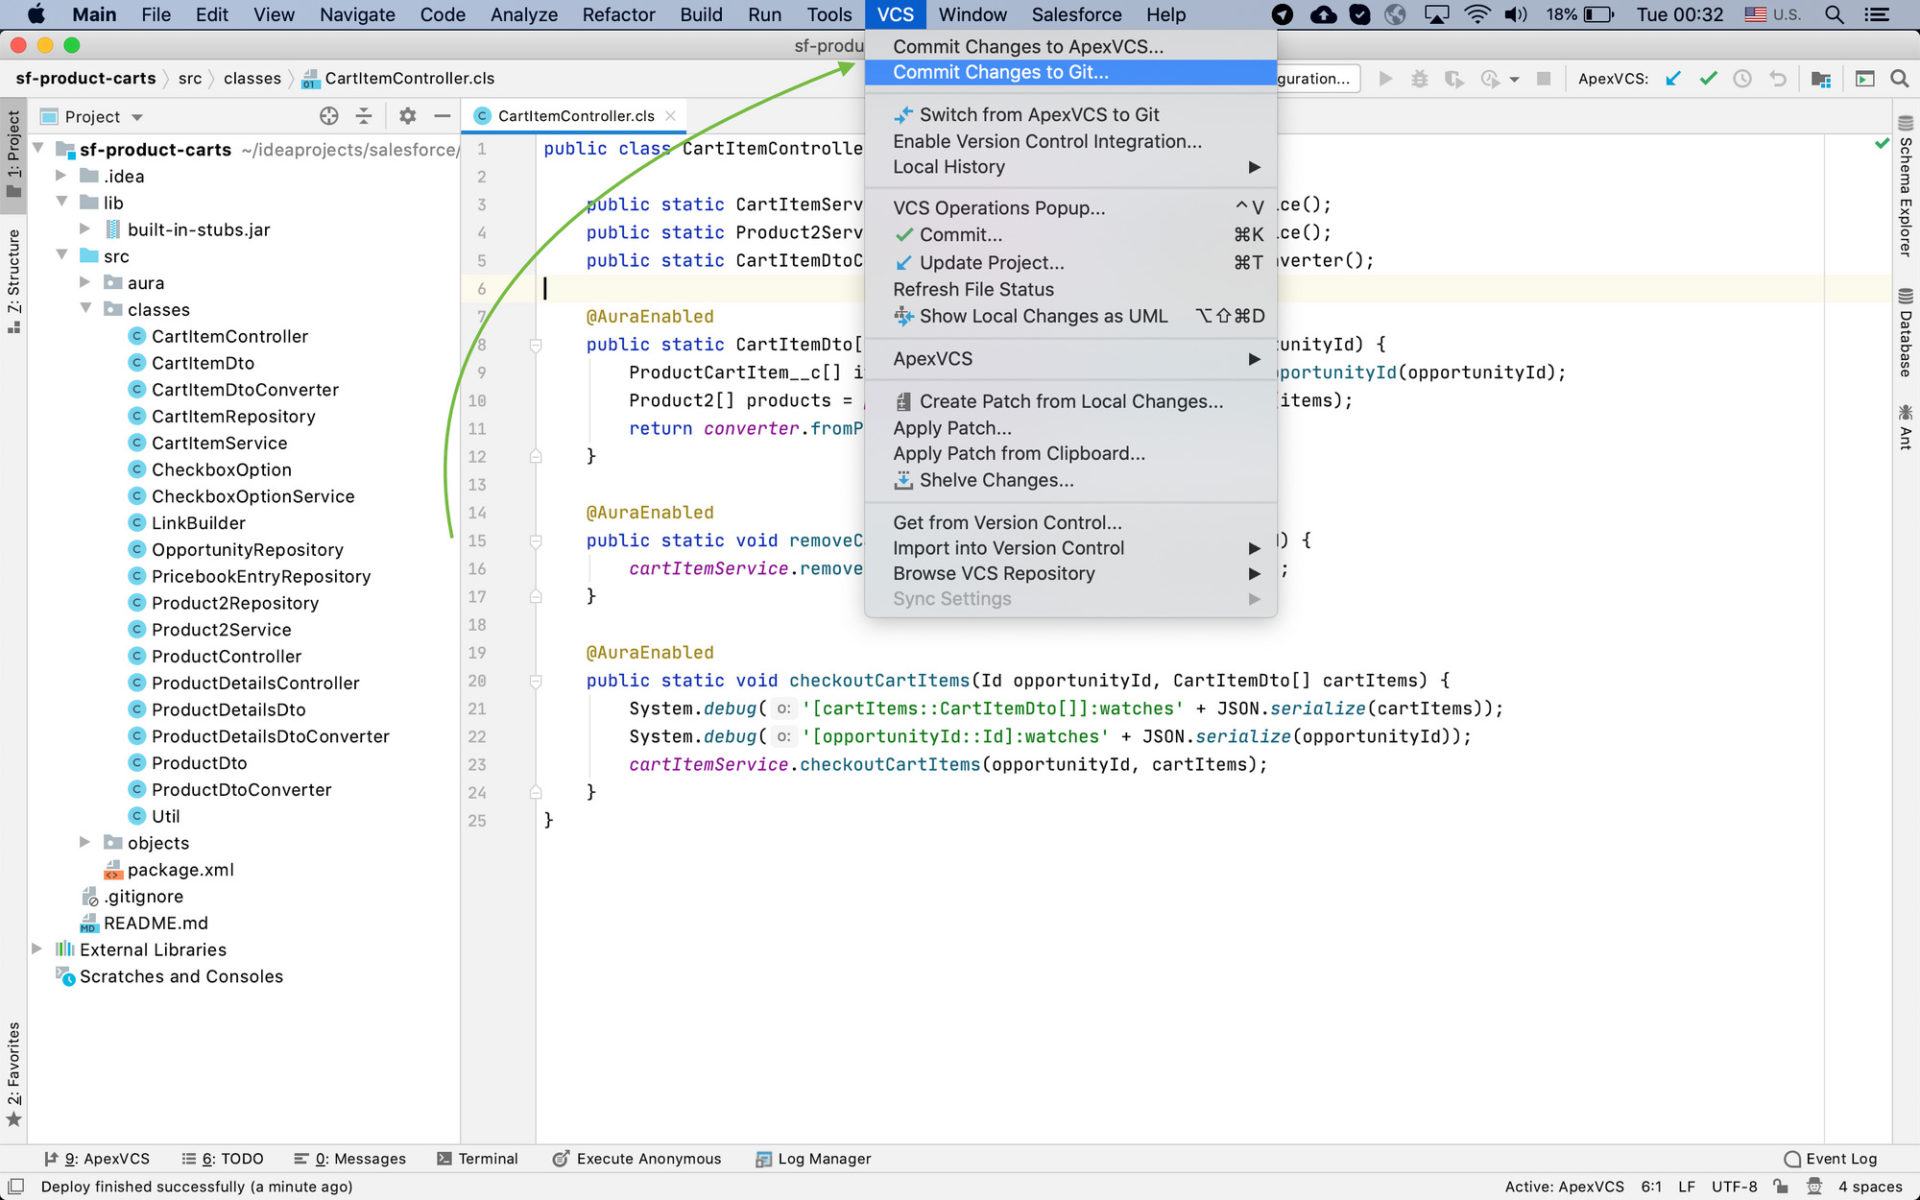 Deploy to VCS
Conclusion
Here is a very concise overview of some JetForcer VCS features, just to give you a quick start. To submit feature requests or just report bugs, use the plugin’s issue tracker. A more detailed tutorial on how to use the plugin along with its features description can be found on the plugin’s site.
Make sure you follow @JetForcer on Twitter to be notified about updates, features, new releases and interesting facts about the JetForcer plugin.